CSS Selectors 101: Targeting Elements with Precision
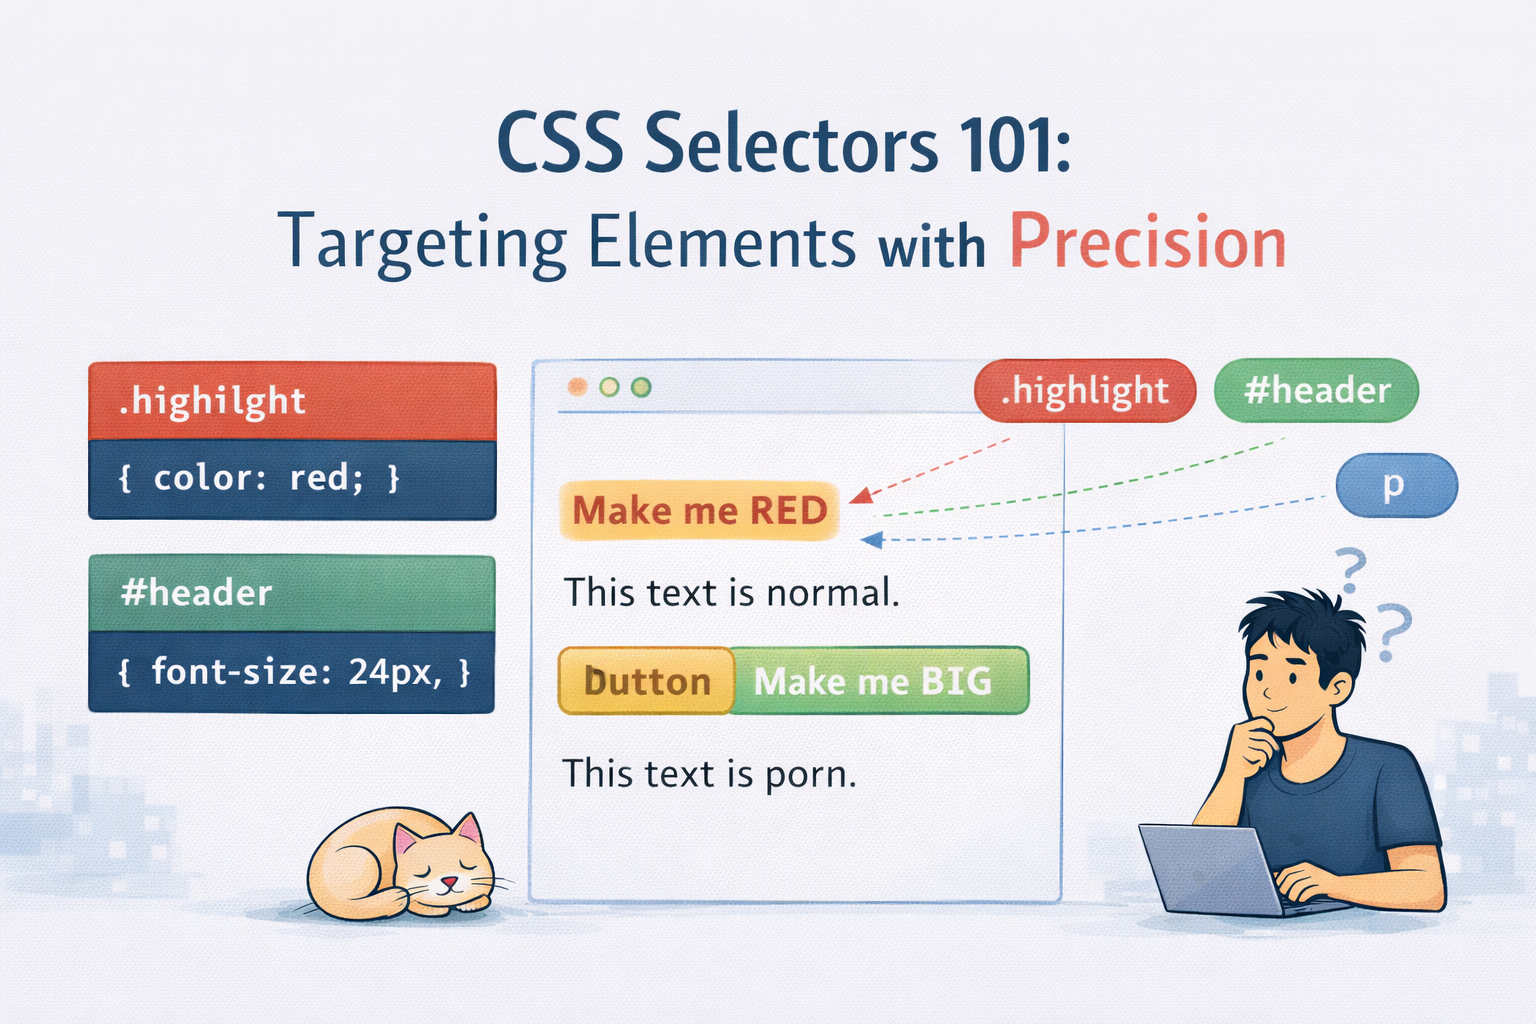
In the previous article we learned about what HTML is and how tags and elements structure a webpage. Now we have the main question as now we have the skeleton but no one looks at the skeleton until and unless it has a skin which gives it attraction and forces everyone to see at it. That the same thing what CSS does it gives style to a raw HTML.
But, “How do we style specific parts of that HTML?”
That were CSS selectors come in and help us. In this blog we will learn everything about CSS selectors and how does CSS selectors help in designing a strong and attractive webpage.
Why do we need CSS Selectors?
Now Imagine a webpage with multiple paragraphs, several buttons and many sections and divs. Now its just the raw html with no styling.
If we write CSS like this:
p{
  color: blue;
}
Now every paragraph becomes blue.
But what id i only want:
only one paragraph to be red?
only buttons in the header to be bigger?
We need a way to choose elements.
That choosing mechanism is called a CSS selector.
Selectors
For now think of a webpage a a city:
Element selector → calling everyone with the same job
Class selector → calling a group with label
ID selector → calling one specific person
CSS selectors are simply ways to point at HTML elements
Element Selector
The element selector targets all elements of a given type.
HTML:
<p>Hello</p>
<p>Welcome</p>
CSS:
p {
  color: blue;
}
Result:
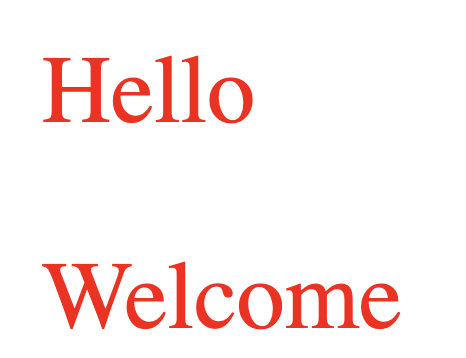
All <p> elements turn blue.
Use element selectors when we want consistent styling.
Class selectors
A class selector targets elements with a specific class attribute
Class selectors start with a . (dot)
HTML:
<p class="highlight">Important</p>
<p>Normal</p>
CSS:
.highlight {
  color: red;
}
Result:
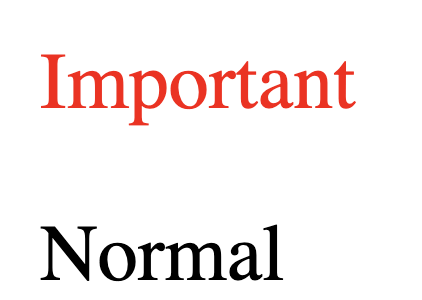
Only the paragraph with class highlight turns red.
Classes are:
reusable
flexible
the most commonly used selector in real projects
ID Selector
An ID selector targets a single, unique element
ID selectors start with a #.
HTML:
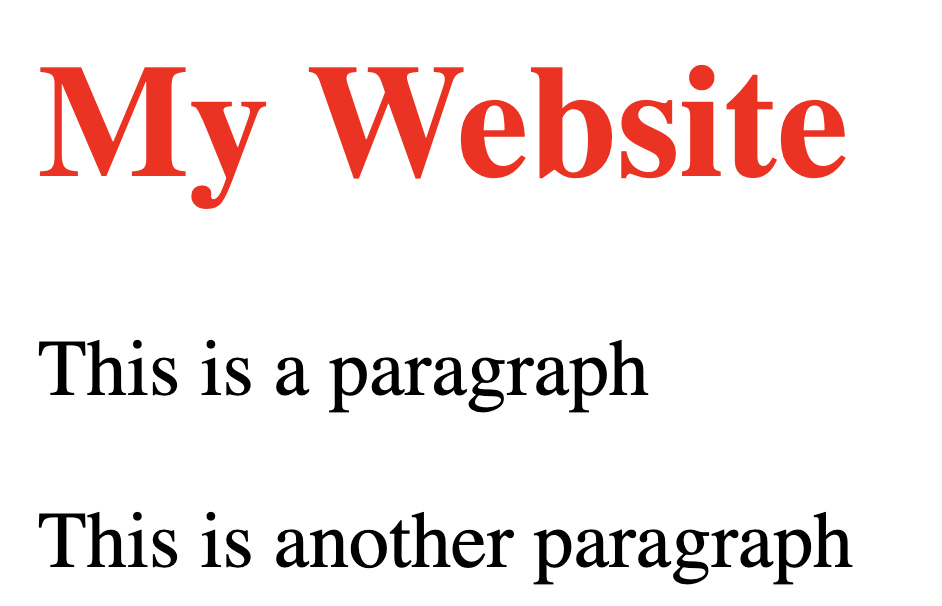
<h1 id="main-title">My Website</h1>
<p class="highlight">This is a paragraph</p>
<p>This is another paragraph</p>
CSS:
#main-title {
  color: red;
}
Result:
Rules for IDs:
Must be unique
used for one specific element
We can think of ID as a person’s Aadhaar/Passport number, only one exists.
Class vs ID
| Feature | Class | ID |
| Symbol | . | # |
| Reusable | Yess | No |
| Elements | Many | One |
| Common Usage | Styling | Layout |
Group Selectors
Sometimes if we want to apply the same style to multiple selectors, then we use group selectors.
HTML:
<h1 id="main-title">My Website</h1>
<p class="highlight">This is a paragraph</p>
<h2>This is another paragraph</h2>
CSS:
h1, p, h2{
        color:red;
    }
Result:
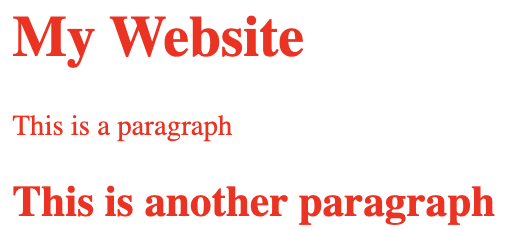
This applies the style to all h1, h2 and p
Group selectors reduce repetition.
Descendant Selectors
A descendant selector targets elements inside other elements.
HTML:
<div class="card">
  <h1> Hello </h1>
  <p>Inside card</p>
</div>
<p>Outside card</p>
CSS:
.card p {
  color: green;
}
Result:
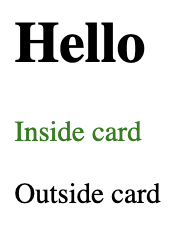
Only the paragraph inside the .card turns green.
We can read it as, “Select all the p elements inside the .card”
CSS Specificity
Sometimes multiple selectors target the same element. Now which one wins?
Priority (Low → High)
Element selector → Lowest priority
Class selector
ID selector → Highest priority
Example:
p { color: blue; }       // Lowest priority
.highlight { color: red; }
#main { color: green; }  // Highest priority
The ID selectors wins since it has higher priority.
This priority system is call as CSS specificity.
CSS specificity decides which CSS rule is applied when multipme rule target the same element.
Think of it as a power ranking system. Not all selectors are equal.
Specificity Order
From weakest to strongest:
Element Selectors (p, div)
Class selectors (.card, .highlight)
ID selectors (#header, #main)
Example 1: Element vs Class
HTML:
<p class="text">Hello</p>
<p>World</p>
CSS:
    p {
        color: blue;
    }

    .text {
        color: red;
    }
Result:
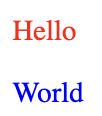
Red color is displayed on the Class text selector while other remains blue.
Reason: Class selector beats element selector.
Example 2: Class vs ID
HTML:
<p>World</p>
<p class="text">Hello</p>
<p id="special" class="text">Hello</p>
CSS:
    p {
        color: blue;
    }

    .text {
        color: red;
    }

    #special {
        color: green;
    }
Result:
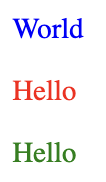
Green color is displayed since ID selector beats class selector.
Example 3: Multiple classes
HTML:
<p class="text highlight">Hello</p>
CSS:
    .text {
        color: blue;
    }

    .highlight {
        color: orange;
    }
Result:

Here orange color is displayed because both have same specificity hence last one wins and here last one is Orange.
Example 4: Descendant + Class
HTML:
<div class="card">
    <p class="text">Hello</p>
</div>
CSS:
    .text {
        color: blue;
    }

    .card .text {
        color: purple;
    }
Result:

Purple color is displayed since .card .text is more specific
Rule for specificity
Prefer classes for styling
Avoid heavy use of IDs in CSS
Keep specificity low and predictable
Before CSS
Plain Text, no color just skeleton
After CSS
Selectors decide:
what turns yellow
what stays normal
what gets special styling
This is why selectors are called the foundation of CSS.
Conclusion
Now we know that HTML creates elements, CSS selectors choose elements and then styles are applied only to selected elements.


